Dueling Dhows

Dueling Dhows
for Mark, Sarah, and Michael

Saturday, June 30, 2018

Gunwales, Hardware, Daggerboard Install (blue Dhow)


June 30, 2018

The previous evening I was able to complete the blue Dhow's rigging varnish work, and thought I would save from posting that short work session.  The varnish work is complete, and it felt good to get yet one more item checked off the list.

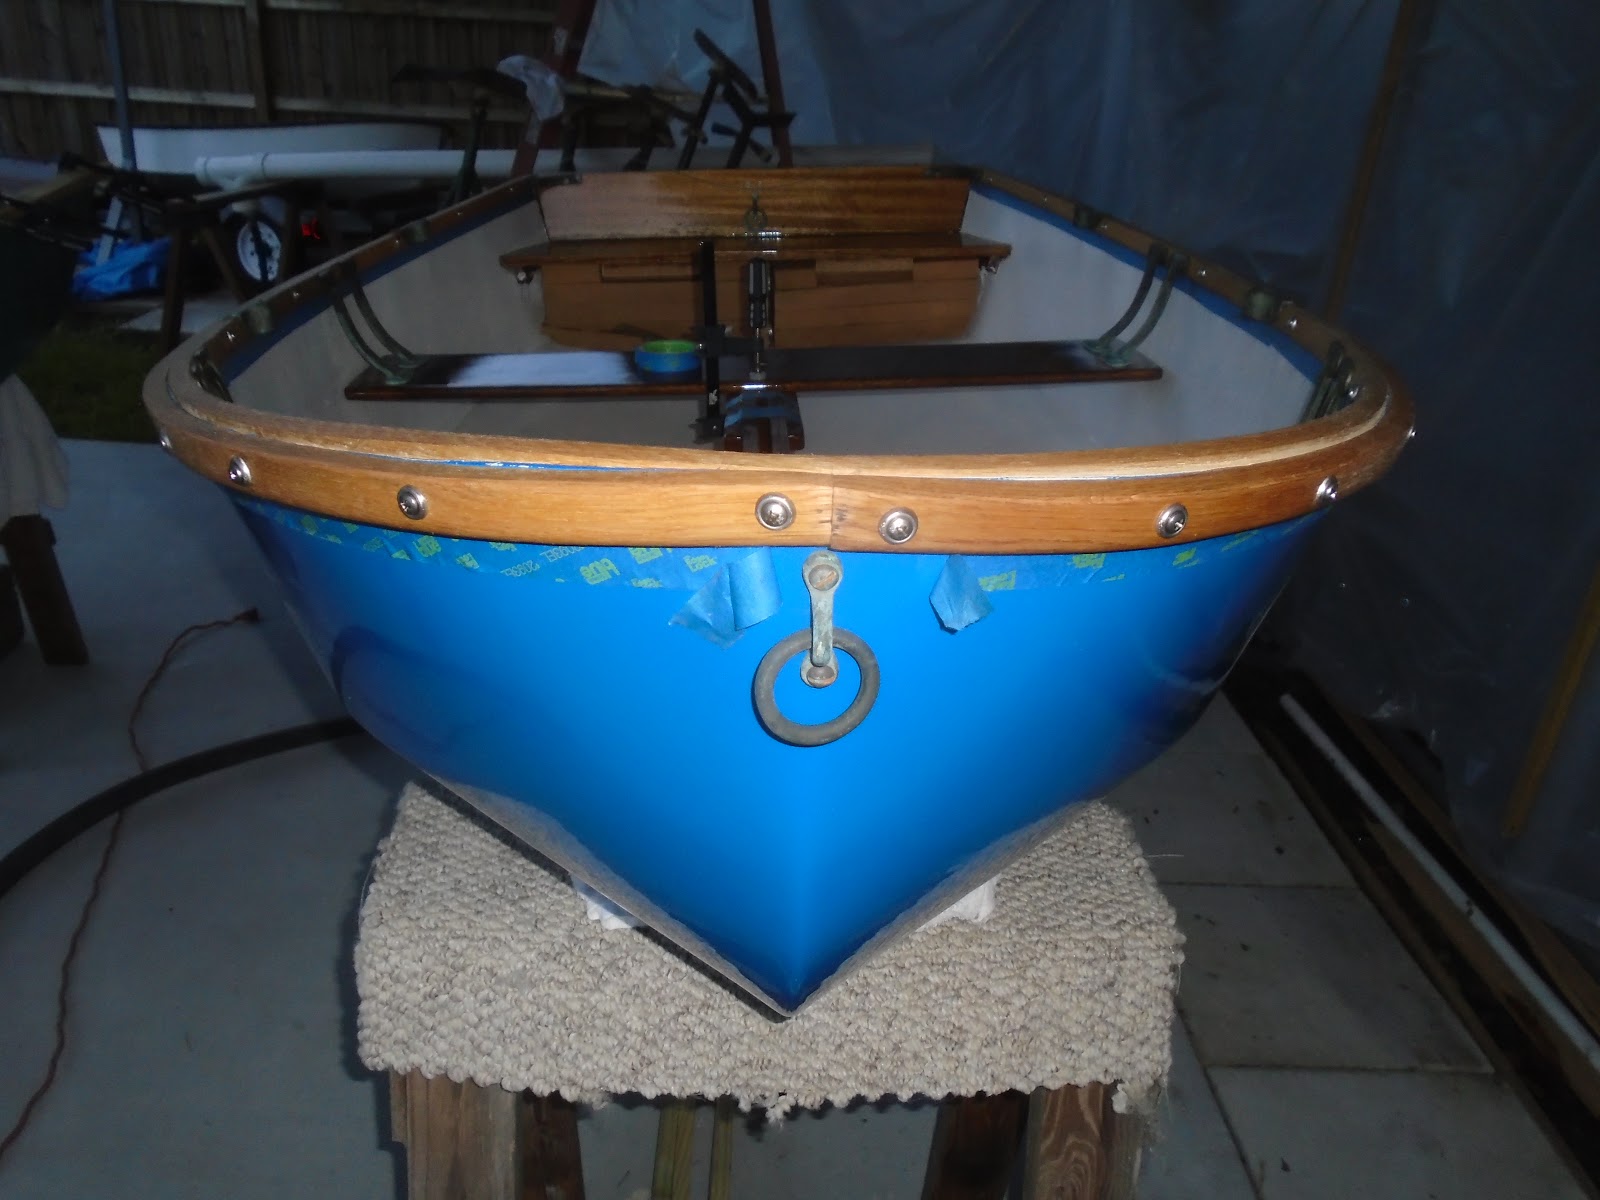
This morning, I turned my attention to installing the gunwales on the blue Dhow.  I worked on the port side of the bow to start.  The process was to pre-drill for #10 wood screws and cup washers, and then install.  I worked the white oak gunwales as best I could around the sheer line of the Dhow, but had to settle for good up around the bow - both starboard and port.  I will come back and apply polysulfide in the voids which will minimize the less than perfect mating of the old Dhow's sheer line to that of the new steam-bent white oak.  Later in the day, I installed the lifting ring at the bow.


I worked my way aft on the port side, installing the forward seat and then the middle seat as I went.  I wanted to make sure that I did not place a gunwale screw where the seat thwarts would need to be installed, so I completed the seating as I worked aft.  I used the lower portion of the mast to help achieve position of the forward seat. 


Just visible in the left side of the picture below, I installed the middle seat.  Like the forward seat, I used the daggerboard and its brace to help locate the ultimate position of the middle seat.


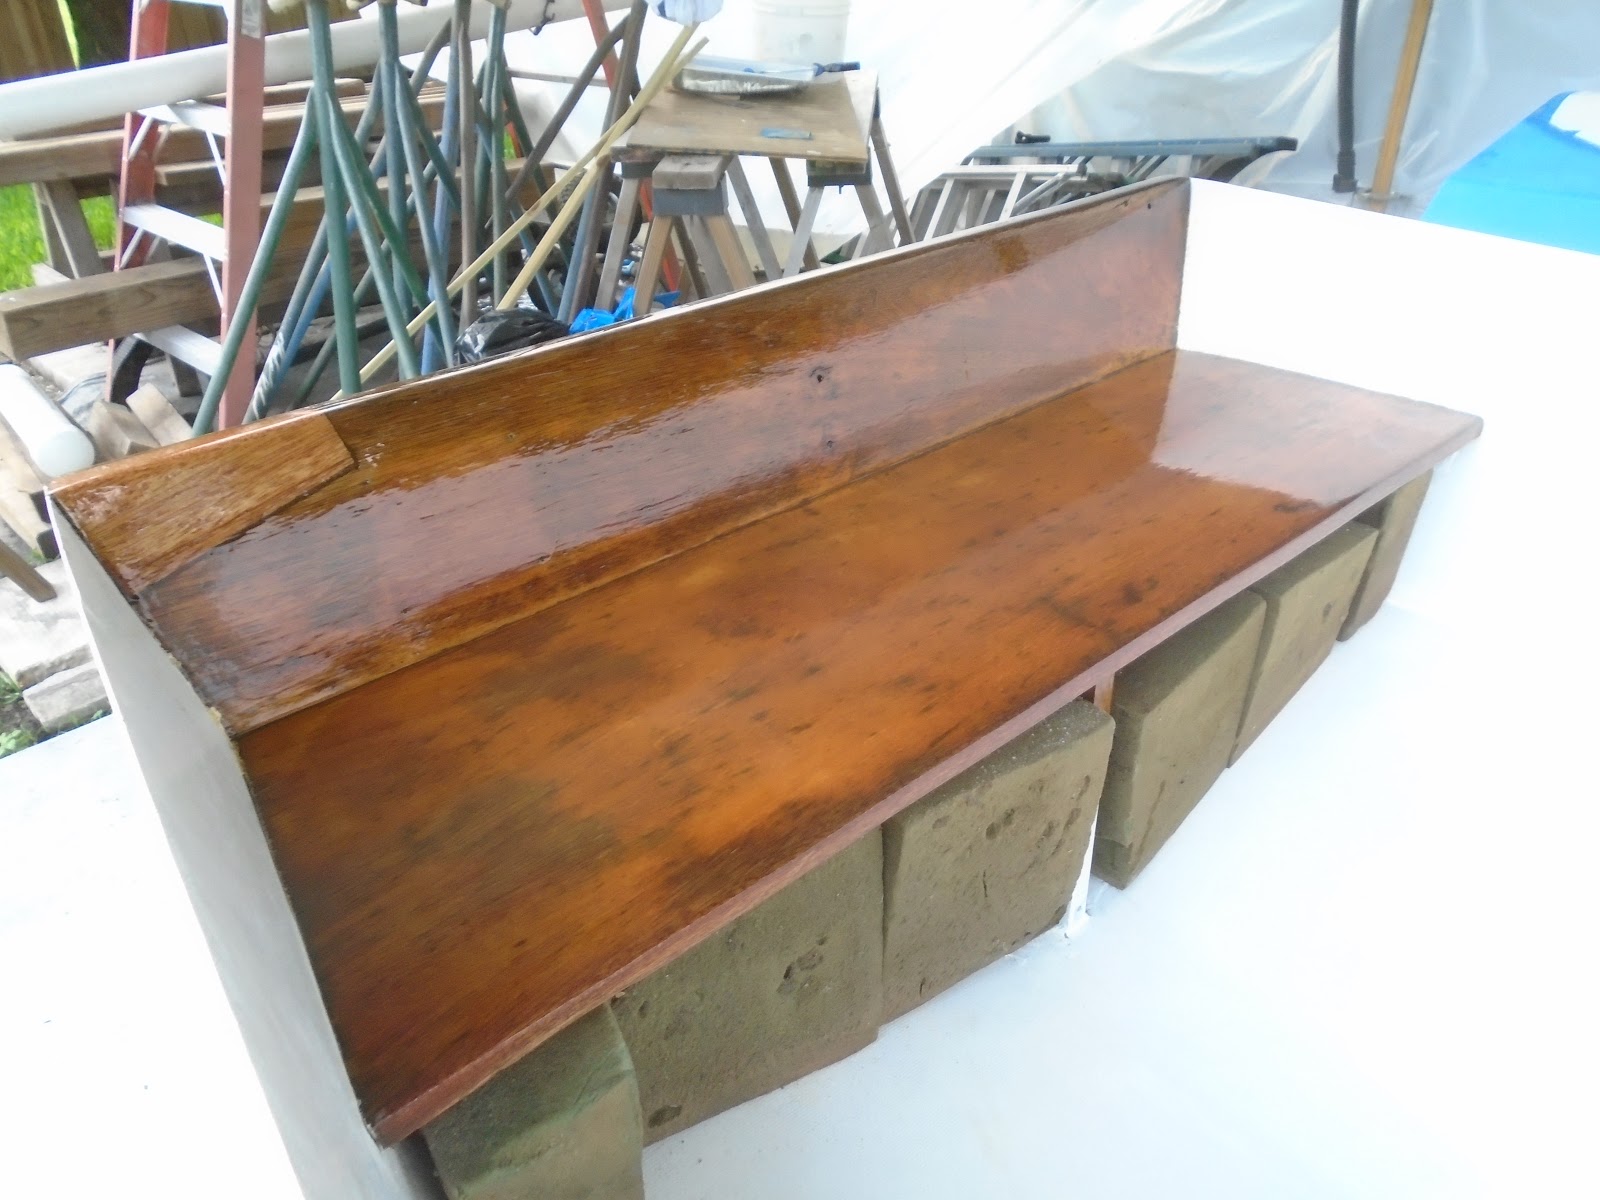
With the seating installed, I then continued my work towards the stern of the Dhow, completing the gunwales install as I went.  With the gunwales completed, I liberally oiled them with boiled linseed oil and then turned my attention to the oar locks (see below), and installed all four of them on the inboard gunwale.


I then turned my attention to the daggerboard trunk installation.  I rough sanded the epoxy coating on the daggerboard trunk as well as the inside of the hull.  I wiped the surfaces clean with acetone, mixed a small amount of neat epoxy and then painted that onto the surfaces that would be bonded.


I thickened a batch of epoxy with 406 colloidal silica and 403 microfibers.  I applied a fair amount around the inside edge of the hull cutout (where the daggerboard slots through), and then placed the daggerboard trunk into position - using marks I had made previously to line up the positioning.  I then formed a fillet around the base of the trunk so that fiberglass would take the radius  - to be completed tomorrow.


Last bit of work was to install the rudder stock on the transom.  This was a fairly simple task, taking three bolts on the bottom bracket, secured with nuts and washers to a backing plate beneath the aft seat, and three bolts for the top bracket.


Total Time Today: 8 hrs.

Thursday, June 28, 2018

Continued Varnish Work (blue Dhow rigging)


June 28, 2018


Yes, that would be an affirmative...more varnish work for the blue Dhow's rig.  It's been a few days sequentially, but it is nearly finished.  Tomorrow should be the last application.  

As always, I began by scuffing the surface lightly with 320-grit paper, vacuuming it, and then wiping it down with a rag dampened with solvent.


She just keeps giving this year....probably blooms 41 through 46!!


The Epifanes clear varnish, slightly thinned, laid down very nicely with the foam brush.  


Total Time Today: .5 hr

Wednesday, June 27, 2018

Continued Varnish Work (blue Dhow rigging)


June 27, 2018


Again, a quick varnish section to get the rigging on the blue Dhow finished by Friday evening.  A couple more coats (Thursday and Friday) will finish it off.  I began by scuffing the surface with 320-grit paper, vacuuming it, and then wiping down with a solvent. 

I lightly thinned the Epifanes clear varnish, and applied with a foam brush.  The one-and-down aspect of the foam brushes suit me, but may invest in a high-quality badge hair, or the like, varnishing brush for future projects.  Cleaning the brush takes time, but ultimately would prove more economical.


The varnish was quick and without issue...other than the incredible Florida heat and humidity!


Total Time Today: .5 hr

Monday, June 25, 2018

Continued Varnish Work (blue Dhow rigging)


June 25, 2018


Fresh off of vacation, and rejuvenated, I set about for a quick evening session of varnish work.  I scuffed the surfaces of the blue Dhow's rigging with 320-grit paper, and then applied a lightly thinned coat of Epifanes clear varnish.


The application was straight forward, quick, and without issue.


Total Time Today: .5 hr

Tuesday, June 12, 2018

Varnish & Paint Work


June 12, 2018


Needing to keep progressing on the varnish and paint work left on the Dhows, I arrived home and got to sanding the "false bulkheads" and the blue Dhow's rigging.  I sanded all pieces with 220-grit paper, by hand.  With the sanding complete, I vacuumed the sanding dust and wiped all surfaces down with a rag dampened with solvent.  

I set the false bulkheads to the side and painted them with the TotalBoat TotalBilge, applying a coat and then turning my attention to the blue Dhow's rigging.


I lightly thinned the Epifanes clear varnish for the mast of the blue Dhow...


...and then thinned a bit more for the portion of the yard arm and boom that required their first coat of varnish.  The next coats of varnish on the yard arm and boom will be thinned less, and the mast portion applied first with just a slight thinning.


Total Time Today: 1 hr

Sunday, June 10, 2018

Dry-fitting Gunwales (blue Dhow), Floatation Foam, and Seating Assembly


June 10, 2018


With the topsides paint finished on the blue Dhow, I was eager to get the gunwales at least in place as a dry-fit, and with some trimming of the aft inboard section, I secured the pieces in place (roughly).  The top of the gunwales on the inboard side will require some work to bring down to the sheer line since they are proud of the laminate sheer, but for the most part the gunwales fit well.  Fasteners are on order - #10 wood screws with cup washers.


I reinstalled the floatation foam on the white Dhow (the foam I had used as a template for the blue Dhow).


I then trimmed the aft and outboard sides of the newly glued-up foam panels for the blue Dhow.  I then notched a recess in the upper most panel of the floatation foam to allow for a cleat to be installed.  The cleat will be used to accept screws for the "false bulkhead" that helps to secure the foam.


I also chose to prep for the installation of the daggerboard trunk.  I sanded an area around the opening with the RO sander and 80-grit discs; the daggerboard trunks will be epoxied into this position, with 1708 biaxial cloth tabbed to further support the installation.


I repeated the work on the white Dhow...


As the final to-do on today's list, I assembled the mid-ships and forward seating for both the white and the blue Dhows.  I was able to get a few things done on the project today, but truth told, I could just not find a groove.  The work was bouncing around and unfocused.  Day of rest, right!? 


Total Time Today: 4 hrs

Saturday, June 9, 2018

Topsides Paint, Rigging Work and Misc.


June 9, 2018


With plenty of items on the to-do list for the day, I started early on the Dhows with the final coat of topsides paint for the blue Dhow, and the second coat of topsides paint for the white Dhow.  Yes, the color monikers are not necessarily making it easy to follow along here.  The Dhows are named, but divulging those now would be a definite spoiler!


With the paint curing, I turned my attention to the floatation foam.  The white Dhow had its original closed-cell foam, and I couldn't justify throwing it away and beginning anew.  What I did do with the floatation foam is use it as a template to fabricate foam for the blue Dhow.  I began by taking a measure of the maximum height in order to understand how many pieces of new foam to glue up.


Using the shape of the port side foam pieces (taped together), I ended up cutting out four pieces of foam; and repeated for the starboard side.


I gently cleaned off the surfaces of the foam pieces, and then sprayed 3M glue liberally across all mating surfaces.   I then weighted the pieces as they cured.  I have not attempted this technique heretofore, but am optimistic for the outcome.  I will be removing portions of the glued-up blocks with a Japanese saw, until I achieve a snug fit beneath the aft seating of the blue Dhow.


With the foam blocks curing, I decided to apply a few coats of TotalBoat TotalBilge to the "false bulkheads" that are screwed to cleats below the aft seats, and that help to secure the floatation foam. 


Finally, I sanded and cleaned the surfaces of the blue Dhow's rig in order to apply a third coat to the mast and first coats to the boom and yard arm.  


With the owner of an upcoming project headed to the shop, I decided to close work for the day.  Tomorrow's work may involve dry-fitting the gunwales to the blue Dhow...hopefully! 


Total Time Today: 5.25 hrs

Friday, June 8, 2018

Sanding Both Dhows (Paint Prep)


June 8, 2018


So, dear reader, you may have figured out that I did not achieve the desired results for the third paint application for the blue Dhow...so a fourth coat it will be.  There were some imperfections on the starboard hull that I just couldn't live with, so I opted to go for an addition coat on the topsides.  I have the paint, so I might as well apply it!

I sanded both hulls down this evening:  the first coat on the white Dhow and the third coat on the blue Dhow.  In the morning, I will be applying the second coat to the white Dhow and the fourth coat to the blue Dhow.  I am also looking to apply varnish to the blue Dhow's rig tomorrow.  Steady progress!


Total Time Today: 2 hrs

Thursday, June 7, 2018

First Coat Topsides (white Dhow) & Rigging Work


June 7, 2018


Arriving home, I changed for a session working on the Dhows.  My first task was to water-wash the epoxy work done on the rig for the blue Dhow - a second round of thickened epoxy applied to the more severe cracks in the boom and yard arm.  With the amine blush removed from the pieces, I sanded things down with 80-grit paper and the RO sander.  I finished the pieces by wiping down with a rag and solvent.  I had intentions of putting a first coat of varnish on them, but lost motivation by the time I was finished with other tasks.


After setting the blue Dhow's yard arm and boom aside in the shop, I came out for work on the white Dhow.  I sanded the hull with 220-grit paper to prep for the first coat of topsides paint; upon finishing the sanding, I vacuumed the surfaces and thoroughly wiped it down with solvent to clean the remaining sanding dust.


I taped off the water line, and found the white Dhow much easier since the scribed water line was much more visible.  There were only a couple lengthy sections where in which the scribed line was lost to years of use and abuse, but I connected them successfully, eyeballing a fair line.


I mixed a pot of Interlux Perfection, combining Jade Mist Green and Snow White in a 3:1 ratio to create a custom color.  I set the pot aside to await the induction period, and used this time to do some last minute tape application to protect the recent varnish work.


Paint went on without issue, and conditions were good - wind died down and the heat moderated.  I will get the final coat on the blue Dhow this weekend, as well as the second coat on the Dhow.


Total Time Today: 2.25 hrs

Tuesday, June 5, 2018

Third Coat of Topsides Paint (blue Dhow) & Rigging Work


June 5, 2018


I was excited to get the third, and perhaps final, coat of topsides paint on the blue Dhow today.  I say final coat with some hesitation since I will need to inspect the cured hull for "good"....not "perfect."  If I get good results, then I'm calling it done and will move on to other parts of the project.

Anyway, I started the session by hand-sanding the hull with 220-grit paper.  With the sanding completed on the hull, I made it over to the shop to mix a small pot of paint.  I spent my time during the induction period cleaning the hull as a general and necessary prep for paint: vacuuming the surface and then wiping it down with a rag dampened with solvent.

I rolled the paint with Epifanes Moltopren fine foam rollers, and had great success with the application.


With the painting done on the blue Dhow, I turned my attention to the spars for the same Dhow.  In a previous session I had done some epoxy fill work on the severely checked and cracked spars.  This evening, I water-washed that work to remove the epoxy's amine blush, and then sanded those surfaces fair.  I proceeded to sand the balance of the spars' surfaces, and then cleaned them with a solvent.


I flipped the spars over to expose the non-worked sides, and proceeded to wet them out with neat epoxy and followed that up with thickened epoxy to fill the cracks.  Next working session will be focused on applying the first highly thinned varnish coat for the blue Dhow's spars....and painting the white Dhow!


Total Time Today: 2.75 hrs


Saturday, June 2, 2018

Second Coat of Topsides Paint (blue Dhow)


June 2, 2018


I had a big day planned for Saturday (gutting a rental house), so I was out early this morning to get the second coat of topsides paint on the blue Dhow.  In the previous work session, I sanded the hull and first coat of paint with 220-grit paper, so I was ready to mix paint first thing.  The humidity was already soaring!

I mixed the two-part paint and set it to the side for its induction time - 20 minutes.  While the paint was doing its thing, I took the opportunity to wipe the hull done thoroughly to remove any remaining debris from yesterday's sanding session.  With the hull prepped, I assembled the painting tools and then got straight to it.  

Likely, one more coat will do it.  I'm going to make an effort to get the first coat of paint on the white Dhow tomorrow afternoon...we will see!


Total Time Today: 1 hr

Friday, June 1, 2018

Continued Varnish Work and Topsides Sanding


June 1, 2018


With date night in sight, I arrived at home and got straight to prepping the topsides of the blue Dhow for a second coat of paint in the morning.  I sanded the topsides with 220-grit paper, and vacuumed the surface.  With the sanding (prep) work out of the way, I turned my attention to applying the final coat of varnish to the aft seat and backrest of the white Dhow.


I sanded the surfaces of the aft seat and backrest with 220-grit paper, vacuumed and wiped the surfaces clean with a rag dampened with a solvent.  The final application of Epifanes clear varnish was not thinned, but applied in full strength!  With work scheduled off site tomorrow, my plans require an early rise and a second coat of topsides paint to the blue Dhow...


Total Time Today: 1.25 hrs